Free and easy static website hosting using Google App Engine and Go's runtime
In this post, we’re going to host a simple static website without so much pain. Using Go as a server script but fear not, you don’t have to learn Go in this post since this post focus on the most simplest and reliable way to host static website.
Have you heard of Google App Engine ?
Google App Engine(GAE) is a service from Google Cloud platform that let us host web applications from various development stack and one of that is web application using Go. Normally GAE is a paid-service but it come with a nice and good free-tier that’s Similar with what you can find in Heroku but if you just want some free hosting for straight-forward HTML and little Javascript and CSS, it won’t hurt to try this trick since it won’t take much time from you.
Pros
- Free
- Upgrade to paid service if required.
- Can add server’s features using Go later.
- Free to use custom domain.
Con
- Not easy enough if you’re not a developer or a geek.
Prerequisite
- Familiar with command-line interface. (If you’re not, google it)
- Some knowledge about website.
- 15-30 mins of your times at most.
Getting Start: Prepare your simple website
Download and install go_appengine_sdk on your own machine, by follow this Link
Web structure.
You can play with your HTML all you want from this point on. Just add structure like this and copy script from below to server.go and app.yaml .
- css
  - app.css
- js
  - app.js
- images
  - lion.jpg
- index.html
- app.yaml
- server.go
package server
//just one line is enough to host static siteapplication: your-app-id-here
version: 1
runtime: go
api_version: go1
handlers:
- url: /
static_files: index.html
upload: index\.html
- url: /js
static_dir: js
- url: /css
static_dir: css
- url: /images
static_dir: imagesUp to this point, you must be able to run “goapp” command (details).
Try “goapp serve” command at website’s root directory and check your result at http://localhost:8080
Deploy to Google App Engine
- Go to https://cloud.google.com/, Sign-in or Sign-up then get to your console.
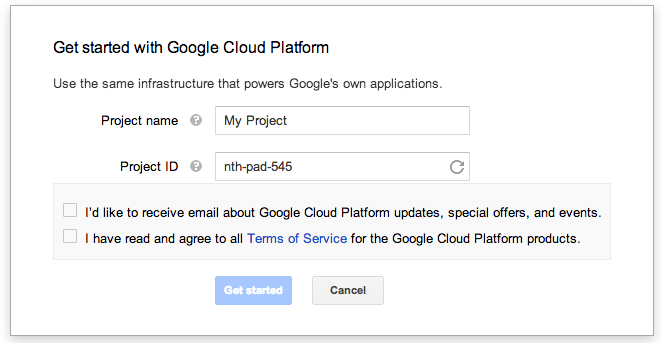
- Create New Project (If it’s your first time here, they will prompt you to create new project immediately.)}

- After Successfully created your project, Save your Project-ID and put it in app.yaml
- In your website’s root directory, Run “goapp deploy” and input your Google credential to deploy your website.
- Your website will now be running at “project-id.appspot.com” , check it out.
- Custom domain can be set using this details
Maintenance and update
Can be easily done using “goapp” command by
- goapp serve: test website in development (No need to restart server, automatically change when files are changed.)
- goapp deploy: deploy to GAE